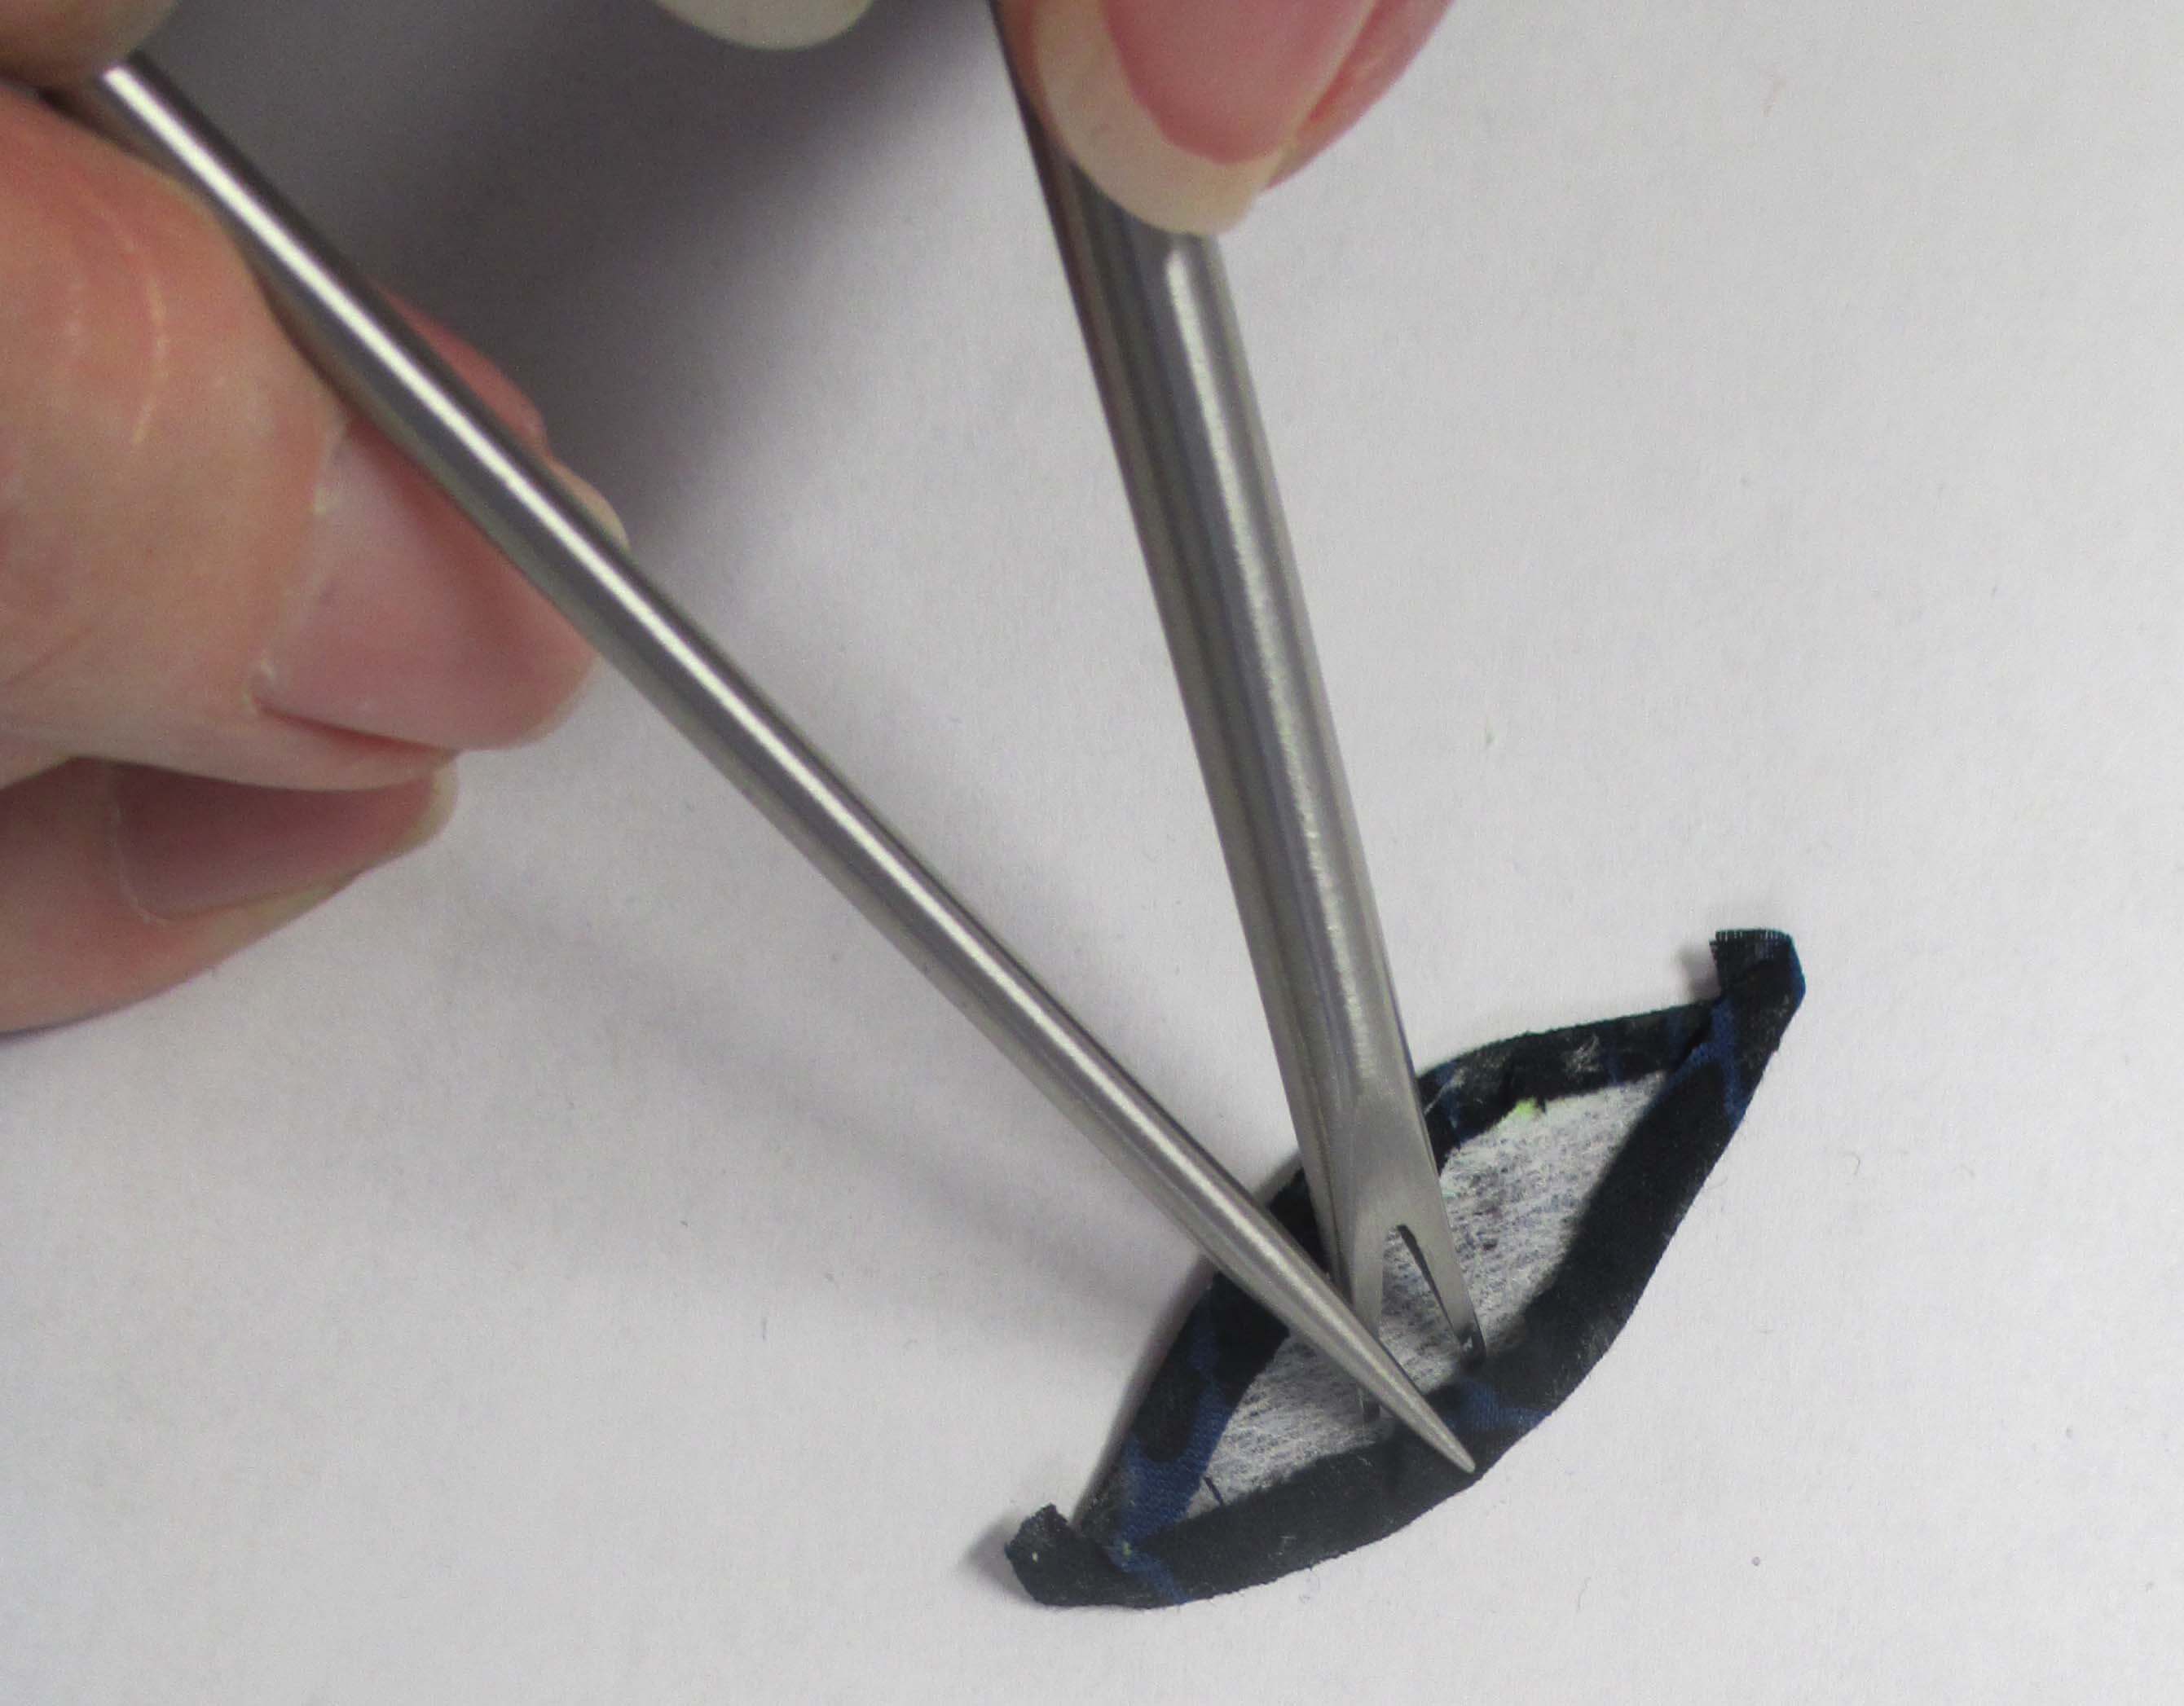
Since discovering the Apliquick tools and technique, Jinny has adopted it as her preferred way to appliqué. Here’s a quick overview of how she does it.
Copy the design onto the fusible, and cut the shape out directly on the line.
Iron the fusible onto the fabric. (Make sure that the inward curves are placed on the bias.)
Cut out the fabric leaving 3/16” for seam allowance.
Place the fabric fusible side up, hold it in place with the two-pronged tool and put the Apliquick fabric glue along the seam allowance overlapping the fusible.
Hold the fabric with the pronged tool and turn the edge over onto the fusible with the pressing tool. Make sure that the fold comes right at the edge of the fusible.
Allow to dry, then arrange on background.
Achieving Smooth Curves
Occasionally, your turned edges will not be as smooth as you would like them to be.
Using the pointed tip of the beveled-edge tool, gently press on the edge that needs smoothing.
On small curves, it is necessary to make many tiny pleats at the curve using the pointed end of the beveled-edge tool. If you find that it is not smooth enough, use the pointed tip at the fold to smooth out any bumps and ridges, then press it down with the beveled edge until flat. Now you have a perfectly smooth curve!


