Tips & Lessons Menu
Design & Color

Hand Piecing

Hand Quilting
Sewing Tips

Terrific Tools

Working with
Border Print Fabrics
Video Tips & Lessons
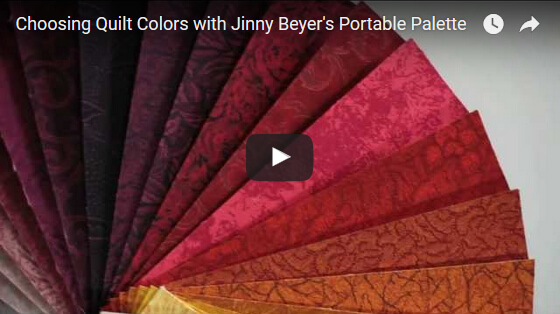
Choosing Quilt Colors with the Portable Palette
Jinny’s Portable Palette is an indispensible tool for choosing colors for your quilts. Watch the video to see Jinny put it through its paces. Click to expand.
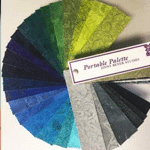
Jinny’s Portable Palette is an indispensable tool for choosing colors for your quilts.
It’s very similar to a painter’s fan deck of colors. The Palette includes a 1¾” x 7? swatch of each of the 150 fabrics in Jinny’s Palette Collection. The fabrics shade beautifully from one color to the next, making it easy to find a range of colors that will work with your focus fabric, inspiration photo or color scheme.
Watch as Jinny shows you how to use the Portable Palette in variety of ways that are sure to help you choose the colors for your next quilt. And get more details on the Portable Palette below. More on the Portable Palette

Jinny’s Color Secrets
In this free video tip, find out the four essentials when choosing fabrics for a quilt. It’s easier than you think to create your own color palette. Click to expand.
Jinny is renowned for a sophisticated use of color in her quilts. Although she has no formal training in color theory or background in art, she has developed a terrific eye and a short list of color “secrets”. Watch as Jinny shares with you her four secrets to beautiful quilt color schemes.

Soft-Edge Piecing
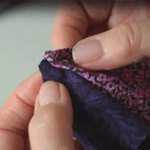
What happens when you let a fabric’s design motifs override the boundaries of a patchwork shape? Jinny calls the technique soft-edge piecing and it makes for some really goregous blocks. Click to expand.
In traditional patchwork designs, fabric is cut to fit within the various shapes of the block pieces. As a result, we often cut into a beautiful portion of the fabric, “forcing” it to fit within that shape, and possibly spoiling the design of the fabric. Jinny began to wonder what would happen if we let the design of the fabric dictate the boundaries of the shape.
Jinny’s quilt, Renaissance Garden, uses this technique. (The pattern includes an instruction sheet on soft-edge piecing.) Watch the video to learn how to create the soft-edge pieces and get some great ideas for using the technique in your quilts.
Download the free Renaissance Garden pattern.
Hand Quilting with a Spoon
Jinny swears by an unusual tool to help her make her incredibly small and even quilting stitches — it’s a spoon! Click to expand.
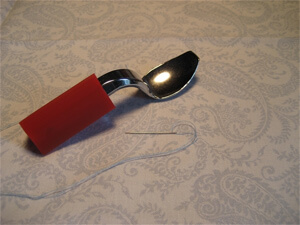
I used to use my fingers underneath the quilt frame, gently poking them with the needle and then pushing up into the underside of the quilt to bring the needle back up again. For more than 10 years, however, I have been using a spoon on the underneath side. It saves fingers and for me produces smaller and more uniform stitches. (Actually my use of the “spoon” is thanks to Gayle Ropp, a quilter in the northern Virginia area who showed me how it was done.)
A brief video below shows you the basic process. But the idea is that you have a narrow rigid item poking into the quilt from underneath the frame. With a spoon, the thumb on the hand that is under the frame fits into the bowl of the spoon and the edge of the spoon pokes into the underside of the quilt. When the needle goes down from the top of the quilt, it hits the rounded edge of the spoon and then “glances off” the edge and comes back up again. There is sort of a rocking motion that eventually allows uniform stitches.
When I first tried this method, I quilted half of the quilt before I finally got the hang of it. Michael James has used a thimble that he flattened with a hammer to produce a sharp edge on the side of the thimble. He used this on the underside of the quilt. Aunt Becky has a product that is a metal piece that you fit over your finger and does a similar thing. I once happened upon a group of women in rural South Carolina who were quilting a raffle quilt. One older lady was quilting away so fast that I was truly impressed. I asked how she kept her fingers from getting sore and she proudly whipped out her hand from underneath the frame and exposed her thumb which had a quarter neatly taped to it. She used that quarter in a similar fashion to the spoon.
A quarter, spoon, Aunt Becky’s gadget, a pounded thimble, whatever, any sharp item poking into the underside of the quilt which the needle can glance off of may help you to produce more uniform stitches. Quilting is such an individual thing and each person has to use the method that works best.
I now use the TJ Quick Quilter spoon made specifically for quilting. It is chrome plated and doesn’t scratch so it lasts quite a long time. It has become quite popular so we now carry it in our shop and our online store.

Inset-Seams
Y-seams scare off many quilters. But if you can start and stop sewing on a dot, you can make a perfect set-in seam. Here’s how. Click to expand.
Not all patchwork patterns can be assembled with continuous straight seams; sometimes a piece has to be set in. The most important consideration when setting in pieces is this: you must stop all stitching at the place where the seam allowances on the pieces cross, thus allowing an opening so the fabrics can be set in smoothly and without puckers.
Watch the video to see Jinny demonstrate the technique for those who sew by machine or by hand.
The Importance of Fabric Grain When Cutting Patches
To give yourself the best chance for blocks that lie flat and smooth, consider the fabric grainline when positioning your patches for cutting. Jinny gives you some tips! Click to expand.
To give yourself the best chance for blocks that lie flat and smooth, consider the fabric grainline when positioning your patches for cutting.
Wherever possible, plan to have the fabric’s lengthwise grain (along the selvedge) or crosswise grain (from selvedge to selvedge) fall along the outer edges of each section in the unit, block, or quilt. This eliminates possible distortion in the block.
Watch Jinny’s two-minute video for a quick explanation of grainline and some tips when rotary cutting patches.
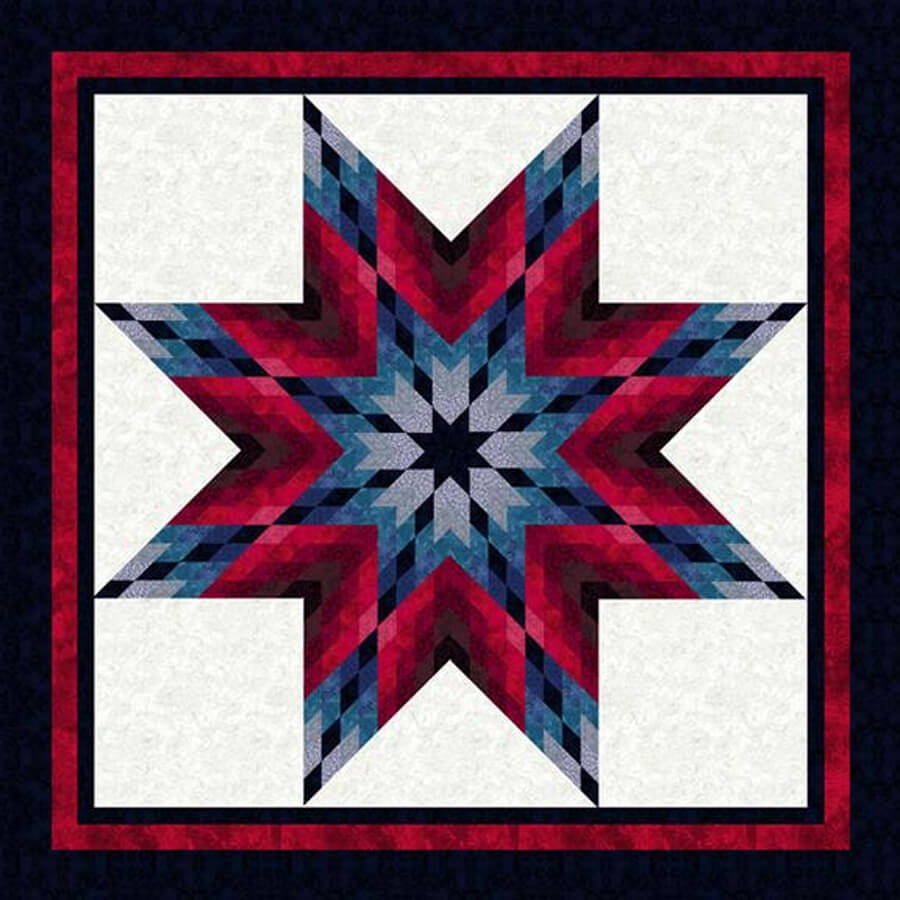
Tips for Piecing a Radiant or Lone Star
Piecing a Lone Star can seem like a daunting task but with strip-piecing techniques and a few tips we think you will find this much easier than expected. Click to expand.
Piecing a Lone or Radiant Star with its many 45° diamonds can seem like a daunting task. However, with strip-piecing techniques and a few tips we think you will find this much easier than expected.
Our staff pattern tester, Diane, has given us 10 tips to make this process go smoothly.

1. Offset the strips when sewing to use as much of your fabric as possible. Don’t be worried when your strip-sets have a small curve to them.

2. Draw a straight line on your ironing board. (Ours in the Studio has a pattern on it so we covered it with muslin first.) We’ve drawn a second line at 90 to the first and drawn tick-marks at 1-inch intervals along each line.

3. Since she is a hand quilter, Diane presses her seams open. She also finds it easier to match seams this way.

4. Line up the 45° angle line on your ruler with the raw edge of your strip set to trim.

5. Rotate the strip-set and cut your segments to the appropriate size. Check the 45° angle every few cuts and trim if necessary.

6. Diane likes to trim off the points before joining the segments. Line up the first two strips to see where you need to trim.

Align the marks on the trimmer with the raw edges and trim.

7. Take your first two segments and place them right sides together. Mark your ¼” seam allowance on the right side of the bottom segment and on the wrong side of the top.
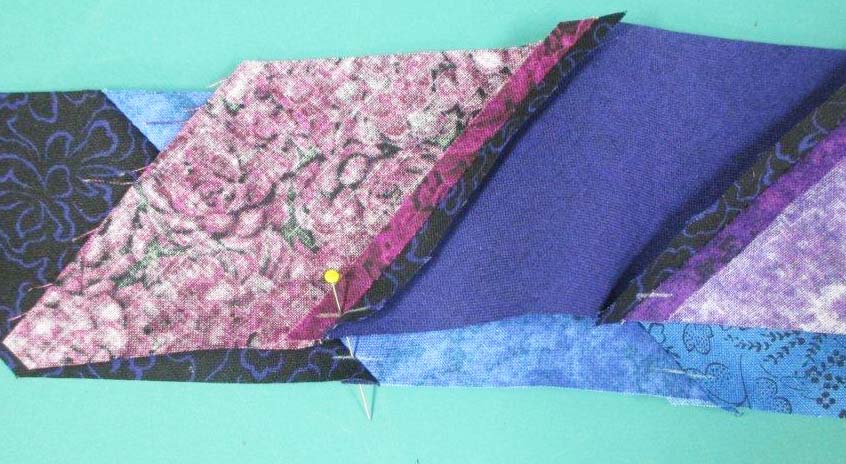
8. Not everyone is a pinner but, in this case, we recommend it. Place a pin on the mark one thread away from the seam allowance on the top, going through to the same side of bottom segment on the drawn line.

9. Hold the pin straight up and down and pin just next to the aligning pin, taking a small bite of fabric.

10. Here’s how it should look.
You are now ready to sew! Follow these tips now and when joining the pieced diamond units together.
For more information, check out this wonderful video on the McCall’s Quilting, showing how to make Jinny’s Lone Star Salute quilt.
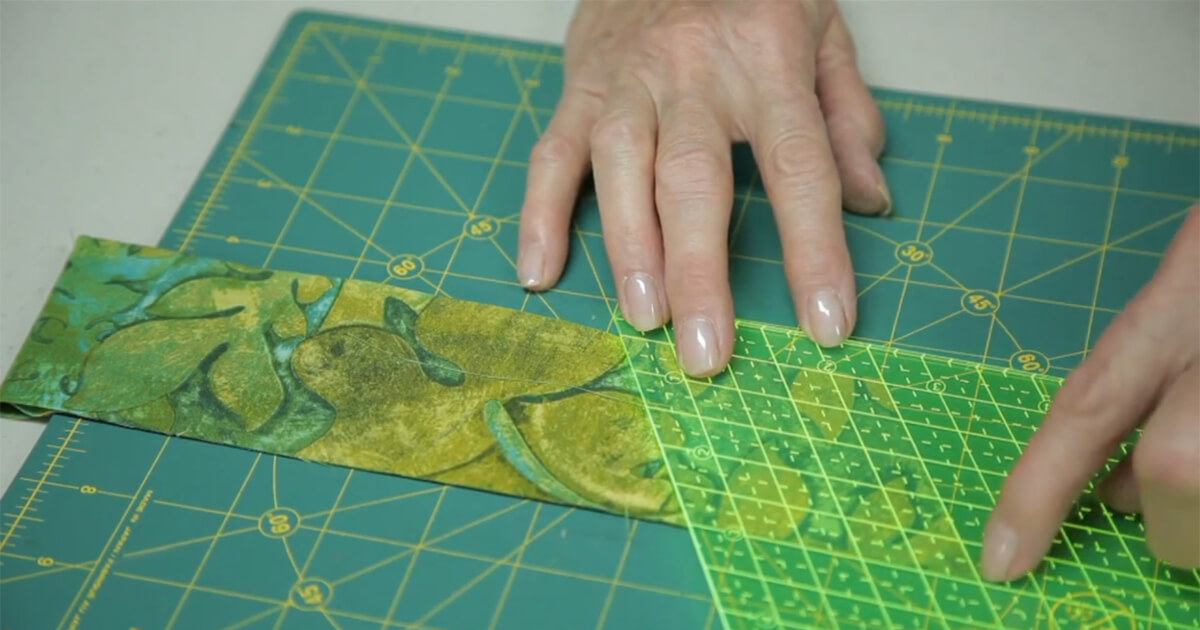
Jinny’s Perfect Cut 60° Ruler
Make quick work of cutting, trimming and marking 60° diamonds and triangles. Click to expand.
Jinny designed her Perfect Cut Ruler to make it quick and easy to cut perfect 60° diamonds and equilateral triangles — for six-pointed stars, Tumbling Blocks, Thousand Pyramid quilts and more.
Watch as she demonstrates how to use the ruler to cut strips of the desired width, cut out the diamond or triangle patches, trim points and mark seam intersections. It’s a big time saver!

Perfect Points & Seams with Jinny’s Perfect Piecer
The perfect piecer is a terrific tool to help you create perfect points and even seam allowances. Click to expand.
The Perfect Piecer is a simple tool designed to help quilters achieve perfect points and even stitching lines.
The tiara-shaped acrylic template includes all the common angles used in traditional quiltmaking. Simply line up the correct angle on the Perfect Piecer with the shape you are stitching. Mark pencil dots through the holes and you will know exactly where to begin and end your stitching.
The ¼” sewing line makes it easy to add seam allowance to templates or fabric patches.
Watch Jinny demonstrate the Perfect Piecer, below. Then, download this free, three-page Guide to Using Perfect Piecer.

An Introduction to Working with Border Print Fabrics
Jinny introduces you to some of the secrets of her border print fabrics that make them ideal for quilters. Click to expand.
Jinny’s border print fabrics are designed by a quilter (Jinny, herself) for quilters. As a result, the fabrics can be used with minimum waste and maximum design possibility.
Watch the video to learn:
- how Jinny first began using border prints in her quilts
- how to identify the seam allowances between stripes in the fabric
- how to calculate how much fabric is needed to frame a quilt with border print
- how to find mirror-image motifs in the fabric for great design possibilities
Then be sure to explore this Working with Border Prints tips section to find all the free patterns and instruction on using border print fabrics in your quilts.
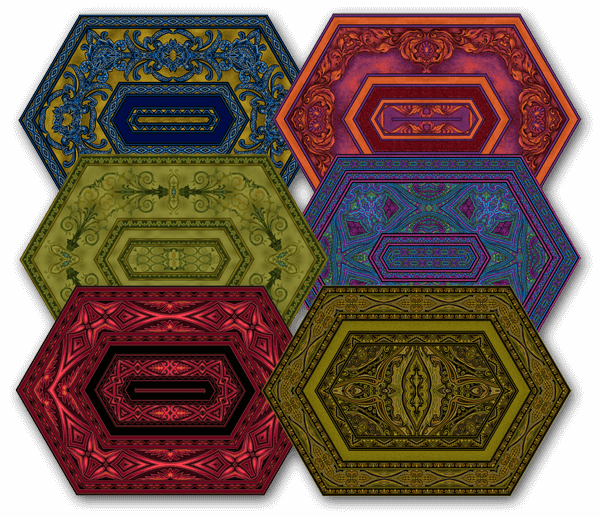
Border Print Place Mat & Table Runner
Just six pieces and one fabric are all it takes to make this gorgeous project. Suitable for quilters of all levels. Click to expand.
Jinny’s border print place mats and table runner are a great project to begin exploring the possibilities of her signature fabric designs.
In this video, Jinny gives you an overview of the project and shows you some wonderful examples of what’s possible.
Download the free pattern and make up a set of place mats in just a day! All you need is 1/2 yard of border print fabric for each place mat, or 2 yards for a table runner.
Browse all of Jinny’s border print fabrics here.
Download Place Mat & Table Runner Pattern

Framing a Quilt with Border Print Fabric
Learn Jinny’s easy, no-math method for framing a quilt with border print fabric. Click to expand.
Jinny frames most of her quilts with border print stripes. Watch the video to see Jinny step you through her easy, no-math method of adding mitered border print borders to a square or rectangular quilt.
And for future reference, download and print the instruction sheet below.
Adding Mitered Borders the Jinny Beyer Way

Magical Effects with Border Print Fabrics
Learn how to add some magic to your quilt blocks by incorporating patches of border print fabric. Click to expand.
Quilters have been fussy-cutting fabric since the very beginning, and border prints create unique effects when cut carefully to fit in a specific patch.It can be as simple as replacing a single patch in a block or subdividing a large shape and using an identical piece of border print in each of those new pieces.
Watch the video to see how much impact you get with this technique and to see Jinny demonstrate how to modify a block to get that border print special effect.
Tips & Lessons Menu
Design & Color
Hand Piecing
Hand Quilting
Sewing Tips
Terrific Tools