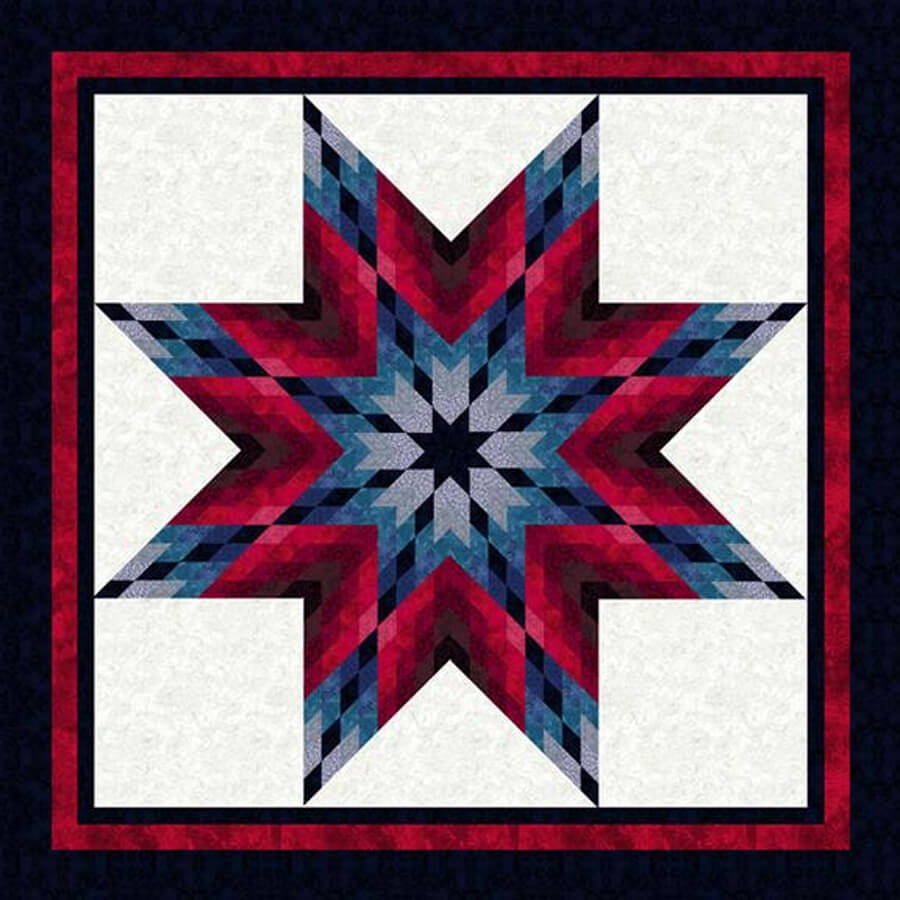
Piecing a Lone or Radiant Star with its many 45° diamonds can seem like a daunting task. However, with strip-piecing techniques and a few tips we think you will find this much easier than expected.
Our staff pattern tester, Diane, has given us 10 tips to make this process go smoothly.

1. Offset the strips when sewing to use as much of your fabric as possible. Don’t be worried when your strip-sets have a small curve to them.

2. Draw a straight line on your ironing board. (Ours in the Studio has a pattern on it so we covered it with muslin first.) We’ve drawn a second line at 90 to the first and drawn tick-marks at 1-inch intervals along each line.

3. Since she is a hand quilter, Diane presses her seams open. She also finds it easier to match seams this way.

4. Line up the 45° angle line on your ruler with the raw edge of your strip set to trim.

5. Rotate the strip-set and cut your segments to the appropriate size. Check the 45° angle every few cuts and trim if necessary.

6. Diane likes to trim off the points before joining the segments. Line up the first two strips to see where you need to trim.

Align the marks on the trimmer with the raw edges and trim.

7. Take your first two segments and place them right sides together. Mark your ¼” seam allowance on the right side of the bottom segment and on the wrong side of the top.

8. Not everyone is a pinner but, in this case, we recommend it. Place a pin on the mark one thread away from the seam allowance on the top, going through to the same side of bottom segment on the drawn line.

9. Hold the pin straight up and down and pin just next to the aligning pin, taking a small bite of fabric.

10. Here’s how it should look.
You are now ready to sew! Follow these tips now and when joining the pieced diamond units together.
For more information, check out this wonderful video on the McCall’s Quilting, showing how to make Jinny’s Lone Star Salute quilt.
Maybe I’m missing something but what are the lines drawn on the ironing surface used for?
When you press the pieces, you can line up the edge of the fabric with the line to make sure they are straight and square.